

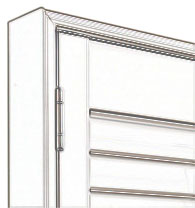
Fitting your shutters inside the recess using an L shaped frame, gives great flexibility. You can position your shutters as far forward or as far back into the recess as you require. This type of frame has a slim profile, so you won’t lose any space. You have the option of face fixing or side fixing to either the wall or the window – whichever is most convenient for you.
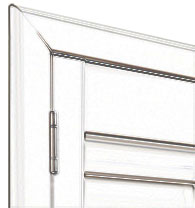
A front of recess fitting uses a Z shaped frame that sits right on the outer edge of the window recess. It has an architrave on all 4 sides that fits flush against the wall and gives a neat and tidy finish. This stylish frame makes your shutters feel like an integral part of the wall. They are also very forgiving, covering gaps and stopping light seeping through. They are perfect for windows that aren’t perfectly square.


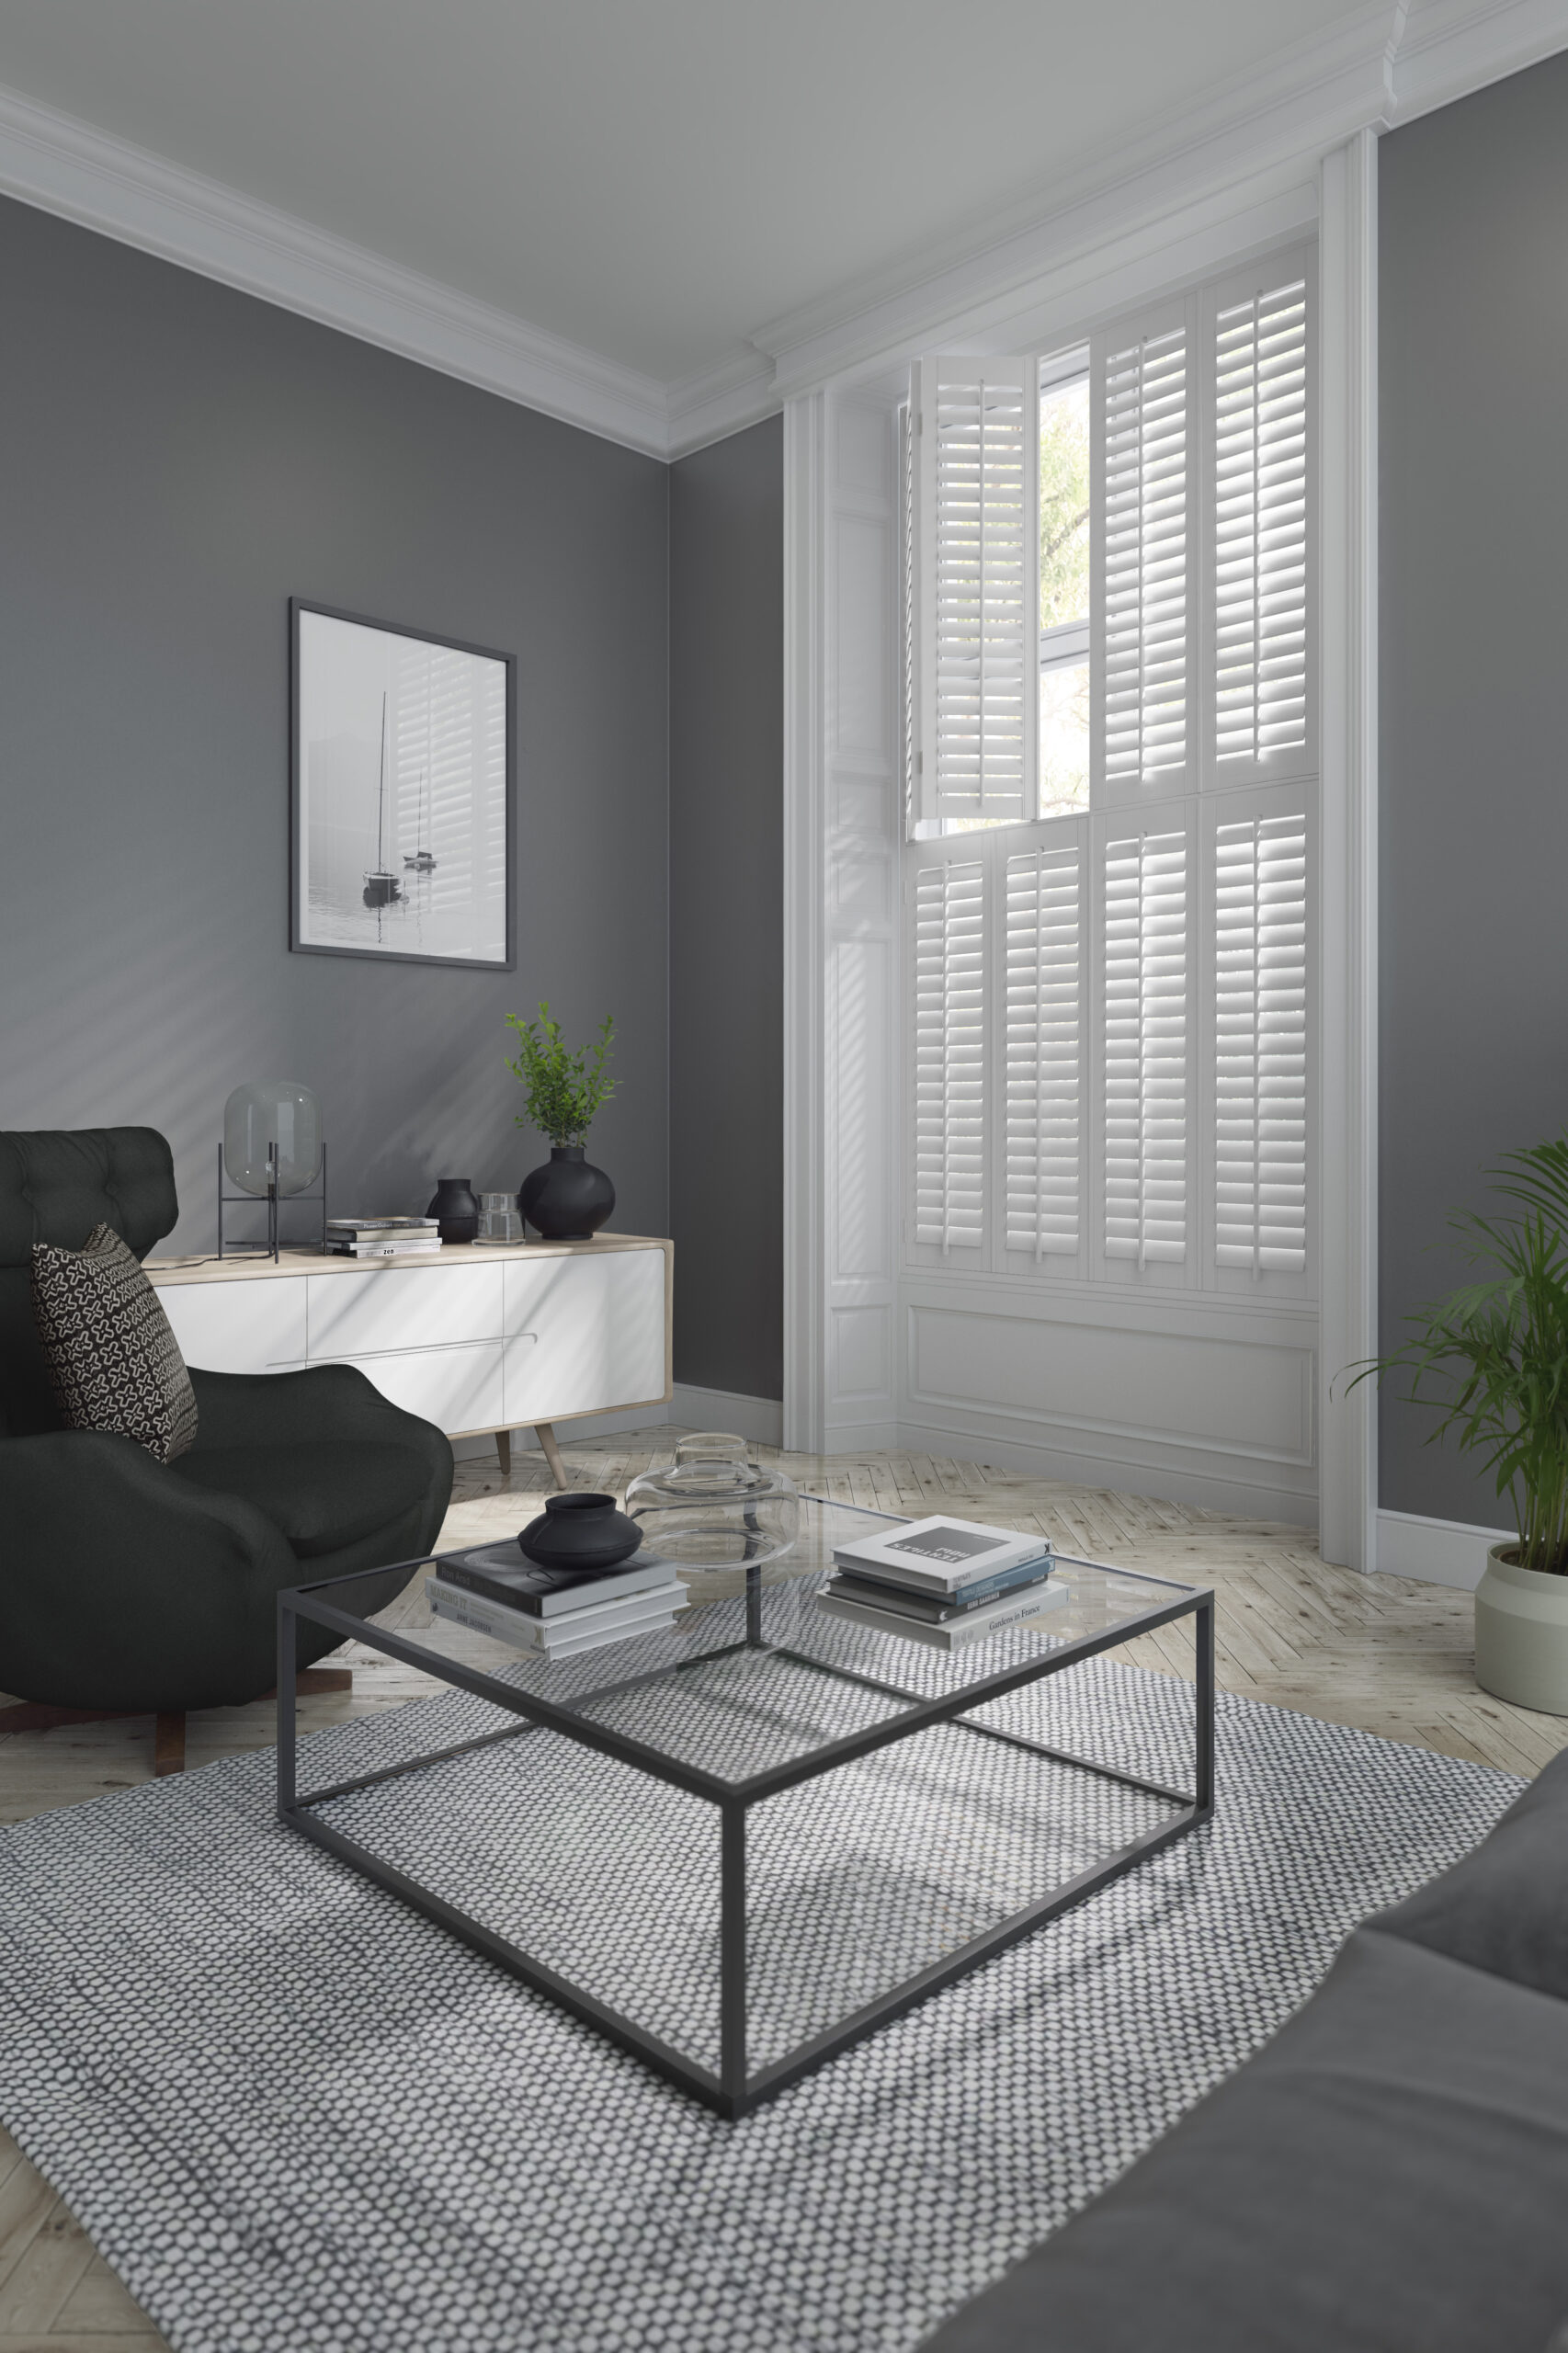
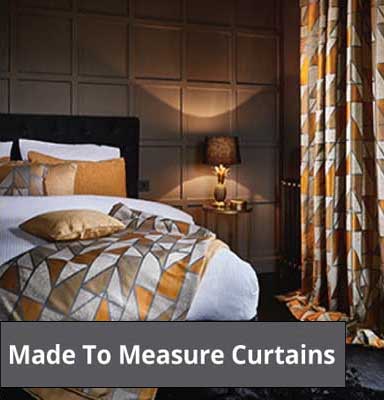
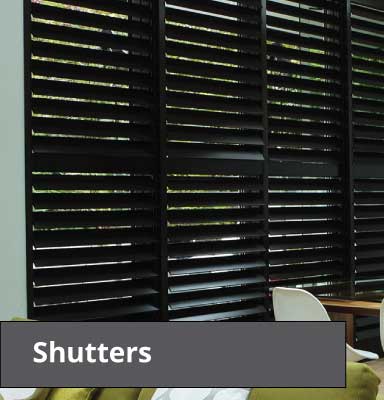
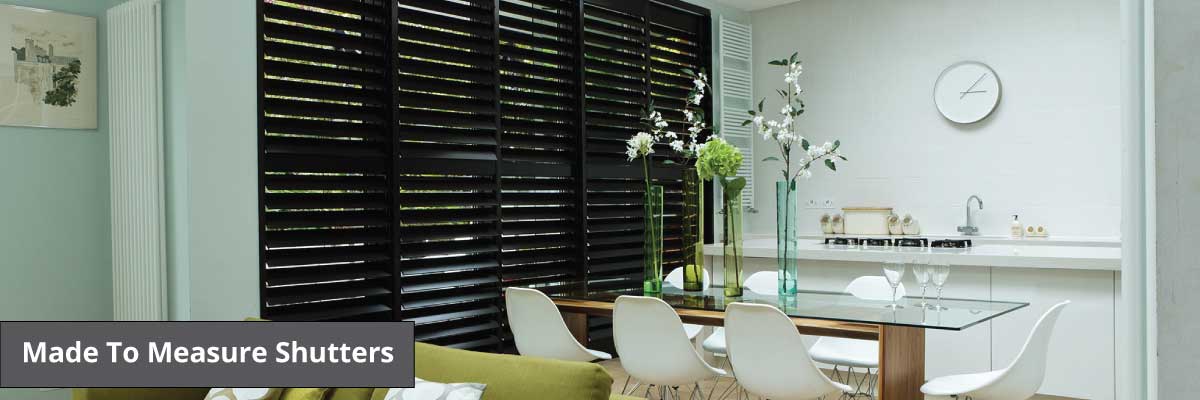
These are premium quality tier on tier shutters made to last. Thanks to their elegant look and vast functionality these shutters are suitable for domestic and commercial use. Suitable for Office Environments and moist conditions
Shutters available in widths upto 2400mm and upto 1700mm drop. Please contact us if you require a shutter larger than these dimensions.
HOW TO ORDER
Please Choose your fitting and style options and enter your measurements width x height in millimetres and the price will be shown.
Click add to basket to order your Shutter.
If you require different size doors please contact us on the number at the top of this page and we will be happy to process your order for you.
Once Ordered we will send you a proof layout of your new shutter for your confirmation Before production will begin. Once confirmed we aim to send your new shutter blind within 28 working days.
These are premium quality tier on tier shutters made to last. Thanks to their elegant look and vast functionality these blinds are suitable for domestic and commercial use.
Specification
Description: Plain finish
Properties: Suitable for Office Environments and moist conditions


© 2025 Copyright Oscars Interiors. All Rights Reserved.
Website Design by albcreative.
Would you like some help with the measuring etc? Please fill out the form below and click send and we will contact you to arrange an appointment for a free virtual measure using zoom, facetime or whats app video call and we will help you to measure the correct areas and discuss your options and any compatibility issues.
Measuring for your new shutters is simpler than it appears. By adhering to our straightforward tips, carefully double-checking your work, and allocating sufficient time, you can complete the task with ease. Below is a convenient guide for measuring shutters.
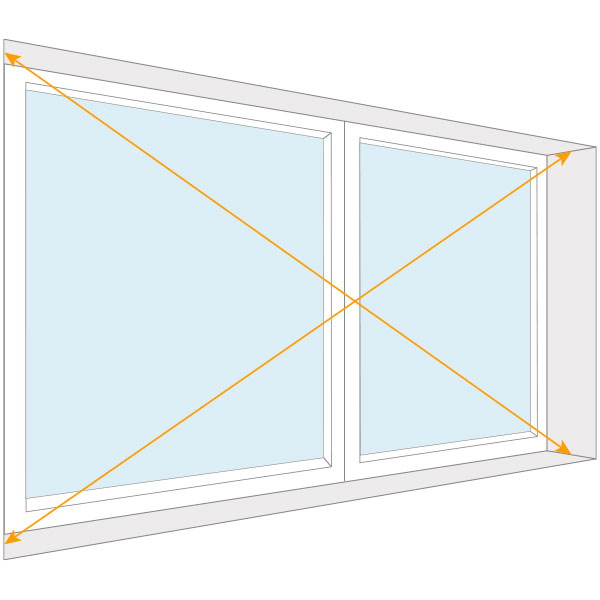
Firstly, ensure that your recess is sufficiently square to accommodate our shutters. To do this, measure the recess diagonally from one corner to the opposite corner on both sides, and then compare the two measurements.
If the difference is 12mm or less, the recess is suitable.
However, if the measurements differ by more than 12mm, it will not be possible to fit shutters in the recess. In such cases, there are numerous other options available, such as blinds and curtains, which can be explored across our sites.
Begin by determining the position of your shutters, either at the front of the recess or within it. Measure precisely at the location where you intend to install the shutters. There is no need to make any adjustments, as all calculations will be handled for you.
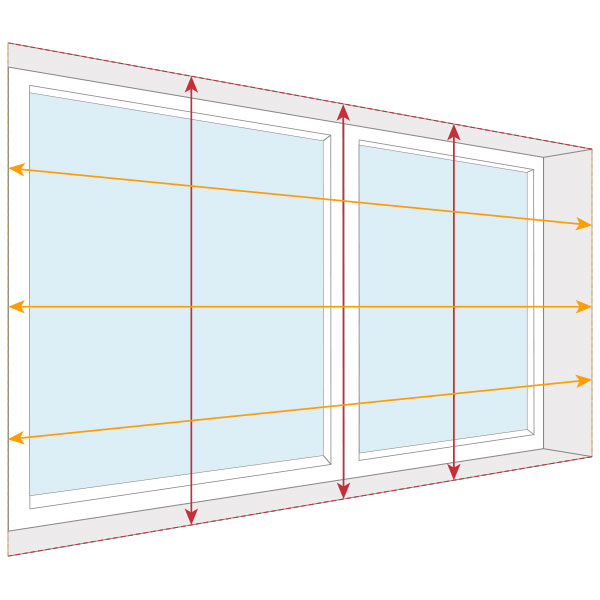
For a front of recess fitting you need to measure at the front of
the recess. Measure the width at the top, middle and bottom.
Next measure the drop on the right, in the centre and on the
left. Write down the smallest measurements, these are the sizes
you will use to place an order.
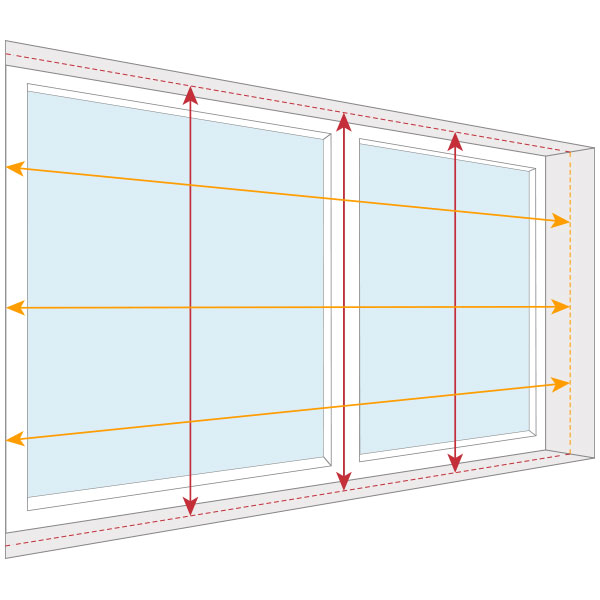
For an inside recess fitting, shutters may be installed at any position within the recess, including flush with the window. It is essential to take measurements sufficiently forward to prevent interference from obstructions like window handles.
Identify and mark the desired fitting location, then measure the width and drop at three different points, as is done for a front-of-recess fitting. Always use the smallest measurements recorded.
For shutters exceeding a 1400mm drop, a stylish midrail is incorporated to provide additional support. An advantage of the midrail is its customizable height, allowing it to be positioned for optimal appearance. Typically, midrails are aligned with the height of any transom bars on the window for a cohesive look.
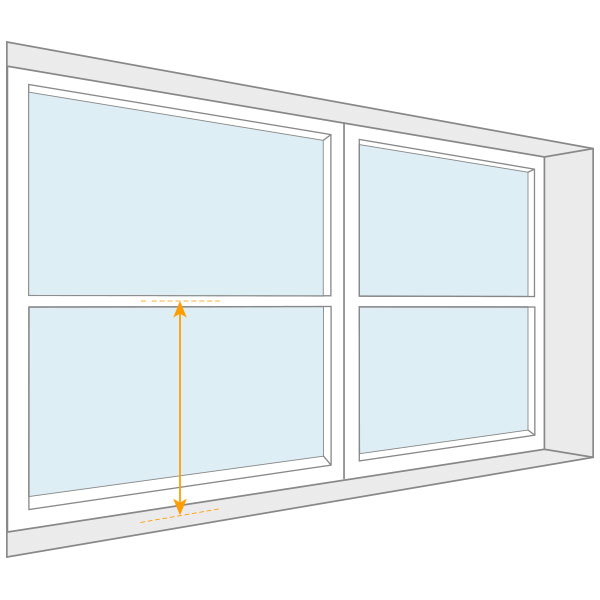
When customizing your midrail, there are a few minor restrictions to consider. For structural integrity.
It must be positioned at least 380mm and no more than 1300mm from both the top and bottom of your shutter panel.
To determine the placement of your midrail, measure from the bottom of your recess to the midpoint of the desired position. If this aligns with your transom bar, measure from the bottom of the recess to the center of the bar.
Measuring for your curtains is easy no need for deductions or calculations we’ll do all of that for you to make sure everything hangs perfectly. Follow our simple guide below for your type of track or pole and let us do the rest.
Measuring the correct curtain width
Measure the curtain track or pole width, not the window width. It’s important that this is the measurement provided, as we’ll use your track or pole width to calculate the required amount of fabric for your curtains.
For the most part, you will be unable to adjust the width of the curtains once they are made, so it’s important that the width measurement is as accurate as possible. If fitting a new track or pole, this should extend 15cm to 20cm either side of the window and at least 15cm above.
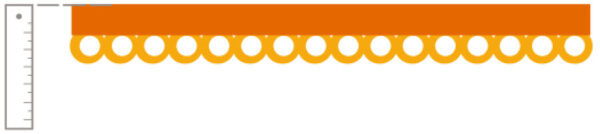
For a curtain pole simply measure the width of the pole between any finials or end caps, that is the width you should enter.
For a standard curtain track simply measure the full width of the track, that is the width you should enter.
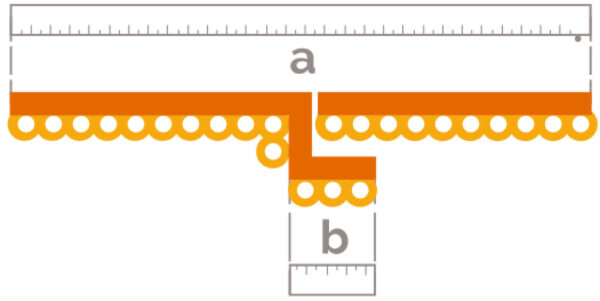
If your track has an overlap in the centre, measure the full width of the track (a) and the width of the overlap (b). Add the two together and that is the width you should enter.
Curtains can be hung either to the floor, to the sill or to below the sill. We suggest that curtains finish either;
It’s important to allow a small amount of space at the bottom of the curtains; If they drag at the bottom then they could mark or fray.
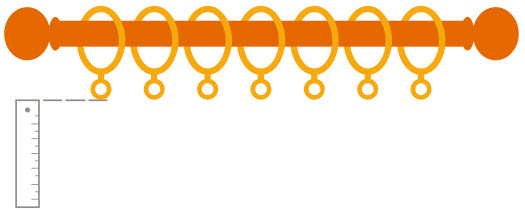
When using a curtain pole, measure from the underside of the decorative ring to where you want the curtain to finish at the bottom.

When using a curtain track, measure from the top of the track to where the curtain is to finish at the bottom.
Our eyelet heading curtains will fit poles up to 30mm in diameter. Simply measure from the top of the pole to where you want the curtain to finish at the bottom. We will make the curtain with 3cm of fabric above the top underside of the eyelet where it sits on the pole.
We add this automatically so simply measure from the top of your curtain pole.

IF YOU ARE UNSURE PLEASE CONTACT OUR CUSTOMER SERVICES FOR FURTHER ADVICE.
Tip: Do not forget to check for obstructions such as window handles, windows opening inwards, or perhaps wardrobe door opening towards window etc as these can prevent the blinds from either opening/closing or being able to be fitted in the first place.